Quick Facts
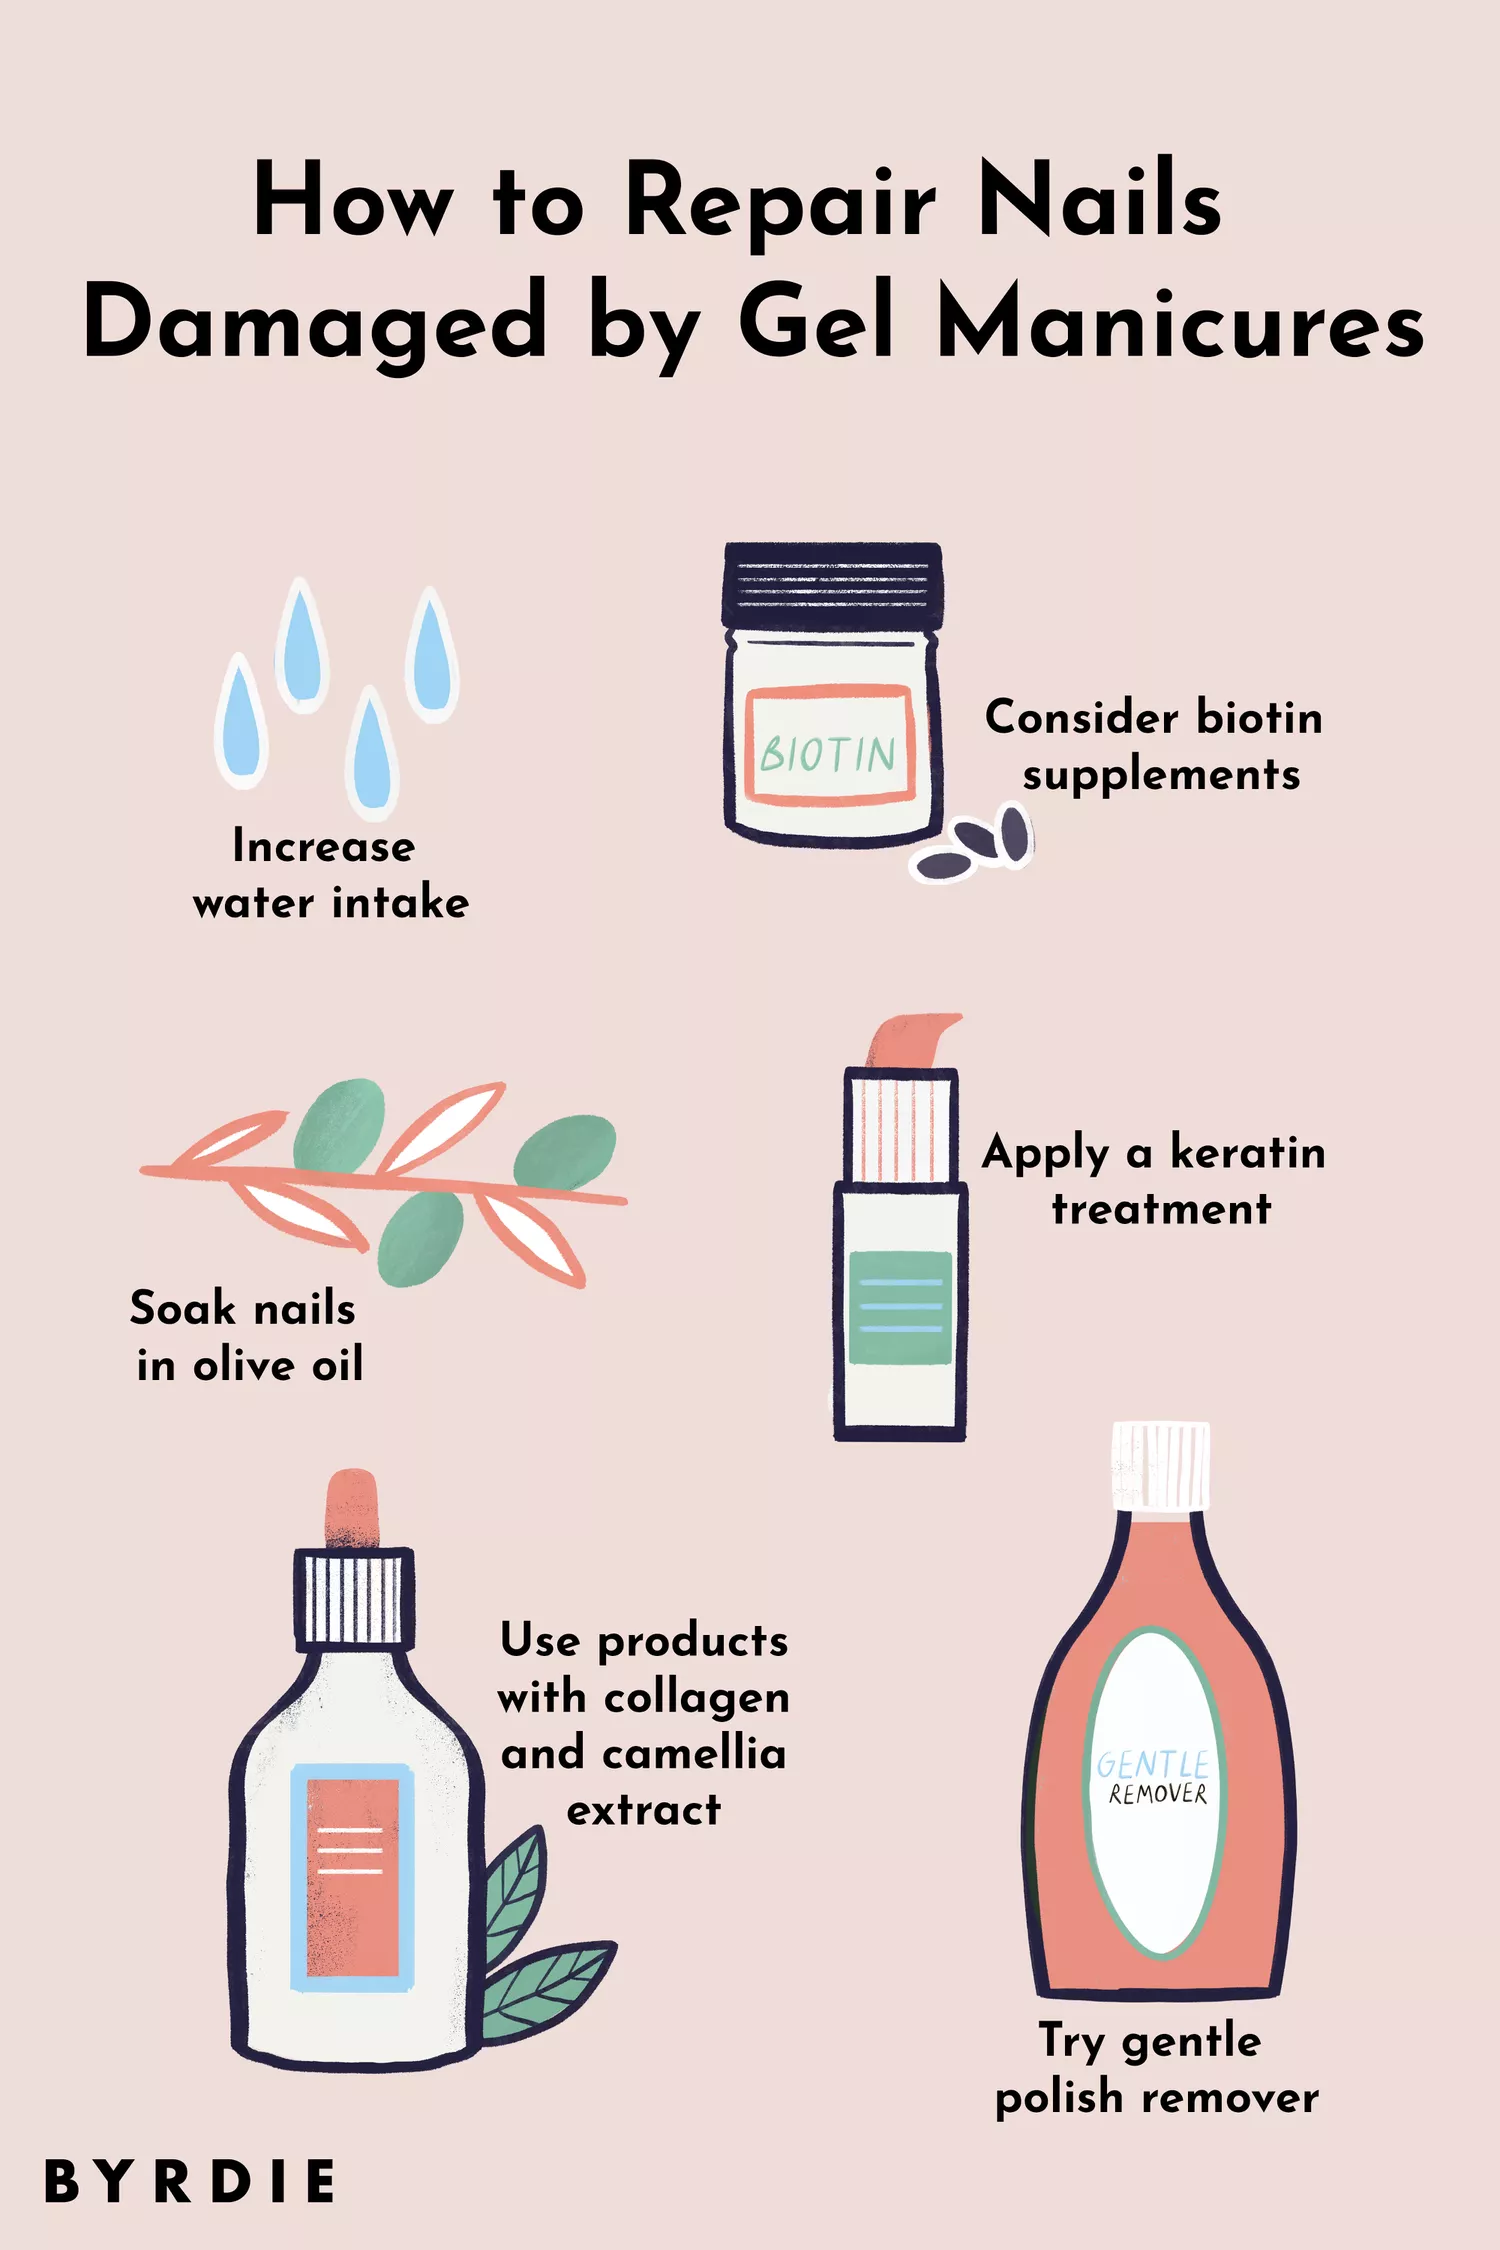
- Recovery Timeline: It takes approximately 90 days (three months) for a fingernail to grow from the root to the tip and replace damaged tissue.
- Essential Ingredients: Look for jojoba oil, coconut oil, keratin, and hyaluronic acid in your topical treatments.
- Internal Support: A daily dose of 30mcg of biotin is the clinical standard for supporting new, healthy nail growth.
- The "Golden Rule": Consistent daily moisture can reduce nail peeling and splitting by over 50% by maintaining the protective cuticle barrier.
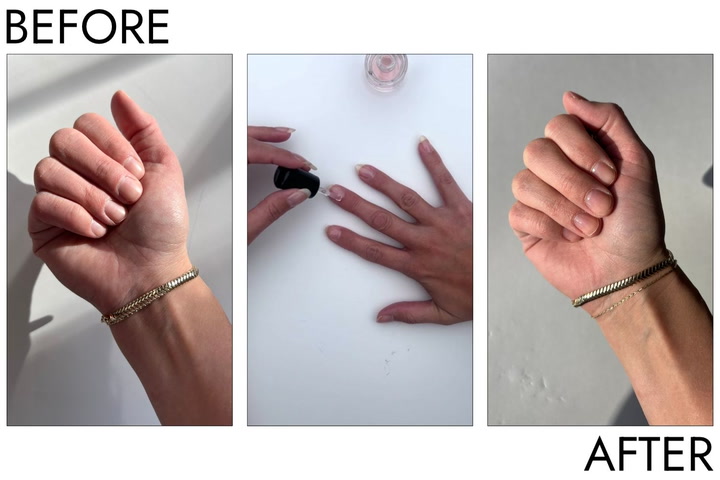
We’ve all been there: that bittersweet moment at the salon when the gel polish finally comes off, and instead of the smooth, strong nails you expected, you’re left with "paper-thin" plates that feel sensitive to the touch. As a skincare editor, I often tell my readers that the nail is simply an extension of your skin barrier. When we use harsh chemicals or improper removal techniques, we aren't just losing color; we are stripping away the essential lipids and keratin bonds that keep our nails resilient.
Repairing this damage isn't an overnight fix, but it is entirely possible with a structured, ingredient-focused routine. In this guide, I’ll walk you through 12 expert-backed treatments to transition your nails from brittle to unbreakable.
Meet the Experts To bring you the most accurate advice, I’ve consulted with board-certified dermatologists and celebrity manicurists who specialize in "naked manicure" health. Their consensus? Patience and hydration are your two most powerful tools.
The Reality of Post-Manicure Damage
Before we dive into the solutions, it’s important to understand what happened. Gel and acrylic manicures involve a process of dehydration and "roughing up" the nail plate so the product sticks. If the removal involved scraping or excessive soaking in pure acetone, your nail’s natural oils were likely obliterated. You might notice white spots (leukonychia), horizontal ridges, or "peeling" where the top layers of the nail have literally been lifted away.
Quick Takeaway: How long does it take to repair damaged nails? Expert studies indicate that a complete fingernail regeneration cycle requires approximately 90 days (three months). This is the time needed for a healthy nail to grow from the matrix (the root) to the free edge. You aren't "fixing" the dead nail tip as much as you are protecting the new growth coming in.
Phase 1: Immediate Moisture & Barrier Recovery
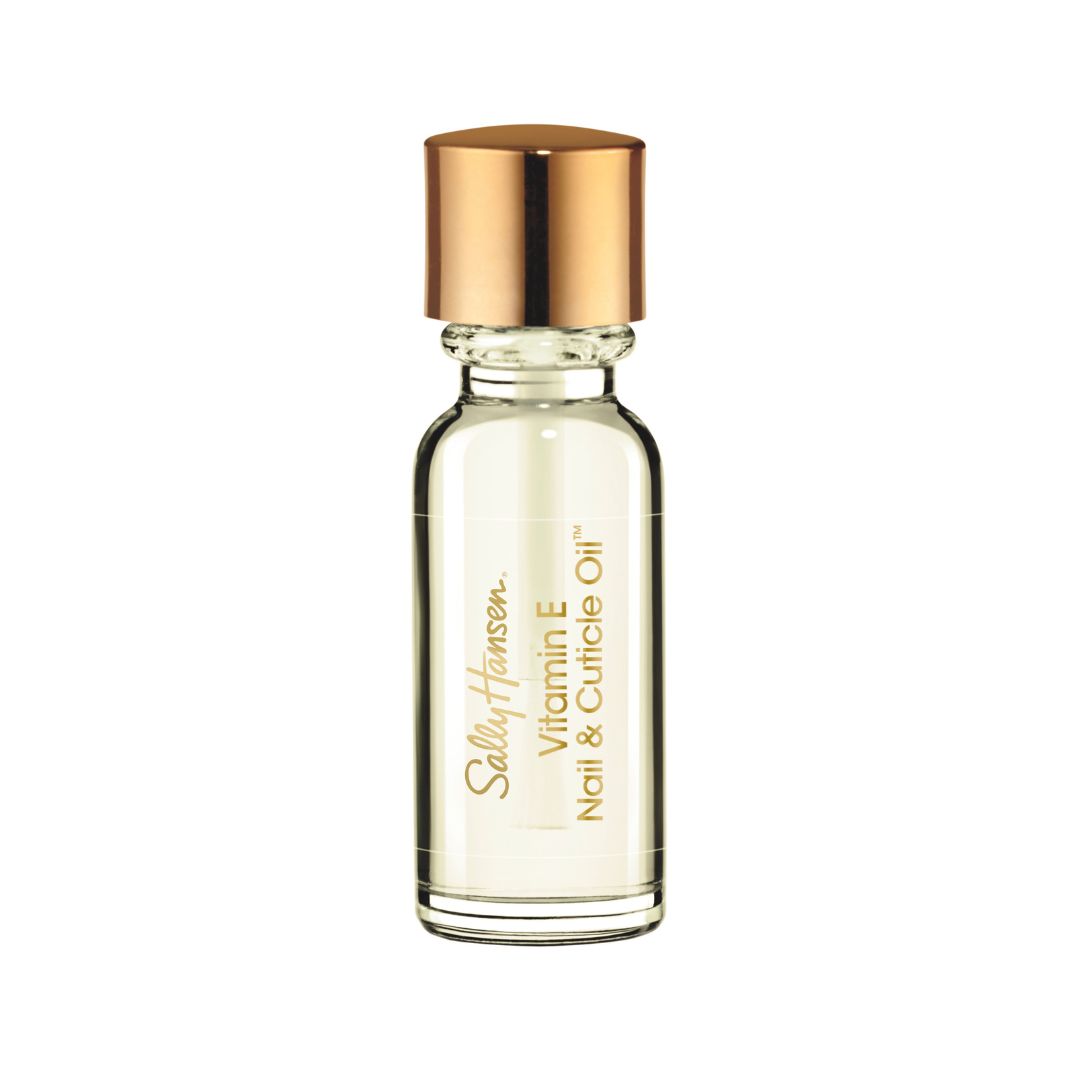
1. Daily Cuticle Oil Application
If you do only one thing for your nails, let it be this. The cuticle is the nail’s "seal" against the world. When it’s dry, it shrinks, allowing water and bacteria to enter the nail matrix, which leads to weak growth.
I recommend oils rich in jojoba and coconut. Jojoba oil is unique because its molecular structure is small enough to actually penetrate the nail plate and the surrounding skin, rather than just sitting on top. Coconut oil provides a fatty acid barrier that prevents trans-epidermal water loss.
Expert Tip: Don't just drop the oil on. Massage it into the cuticle and the nail bed for one full minute. This stimulates blood flow to the matrix, which delivers the oxygen and nutrients necessary for faster growth.
2. The 'Nail Slugging' Technique
Borrowed from the world of K-beauty skincare, "nail slugging" involves applying a humectant (like a hyaluronic acid serum) followed by a thick occlusive (like petroleum jelly or Aquaphor) at night.
Quick Takeaway: Why use Hyaluronic Acid on nails? Just as it does for your face, hyaluronic acid draws moisture into the parched nail bed. By "slugging" with petroleum jelly over it, you lock that moisture in, creating a humid micro-environment that encourages the nail layers to lay flat and bond together.
3. Therapeutic Olive Oil Soaks
You don't need a luxury spa for effective repair. For a cost-effective DIY treatment, soak your nails in warm olive oil for 10-15 minutes every evening. Olive oil is rich in Vitamin E and polyphenols, which help strengthen the nail’s resistance to environmental free radicals. It’s an old-school remedy that remains a favorite among dermatologists for its simplicity and efficacy.
Phase 2: Structural Reinforcement & Clinical Treatments
Once you’ve addressed the hydration levels, it’s time to look at the structural integrity of the nail. Many people confuse "hardeners" with "strengtheners," but they serve very different purposes.
| Treatment Type | Goal | Key Ingredients | Best For |
|---|---|---|---|
| Nail Hardener | To make the nail rigid and prevent bending. | Formaldehyde (sometimes), Calcium. | Very soft, "bendy" nails. |
| Nail Strengthener | To add flexibility and reinforce keratin bonds. | Keratin, Peptides, Collagen. | Brittle, snapping, or peeling nails. |
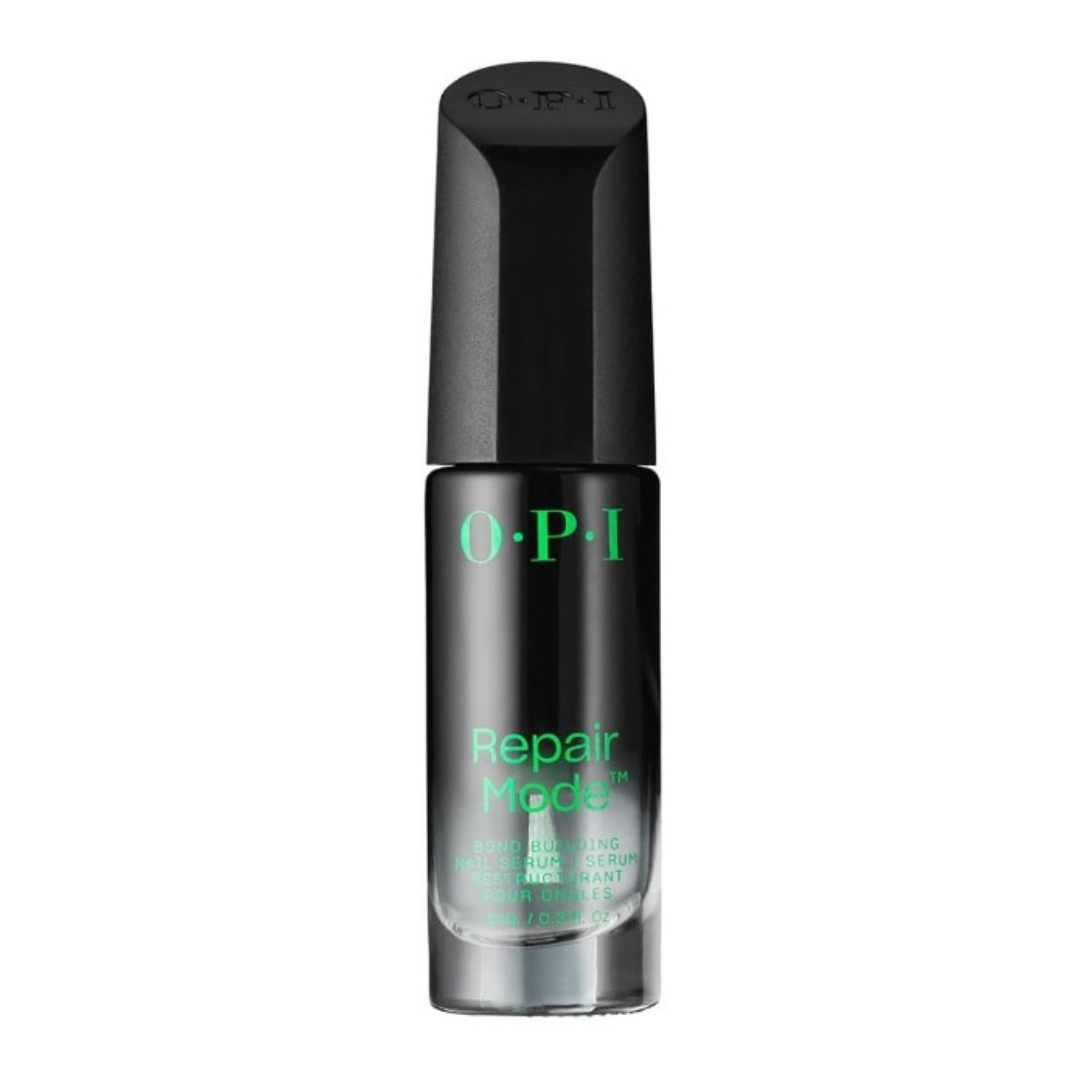
4. Keratin-Based Bonding Serums
Your nails are made of keratin proteins. Damage occurs when the bonds between these proteins are broken. Modern "bonding" serums work on a molecular level to crosslink with the nail's natural building blocks, essentially "gluing" the damaged layers back together. Unlike traditional polishes, these serums are usually absorbed into the nail rather than sitting as a film on top.
5. Glycolic Acid Prep Systems
It sounds counterintuitive to use an acid on damaged nails, but systems like the Dr. Dana Nail Renewal System use a gentle glycolic acid to "exfoliate" the nail plate. This removes the superficial damaged cells (the peeling bits), allowing the subsequent strengthening treatments to penetrate deeper into the nail plate.
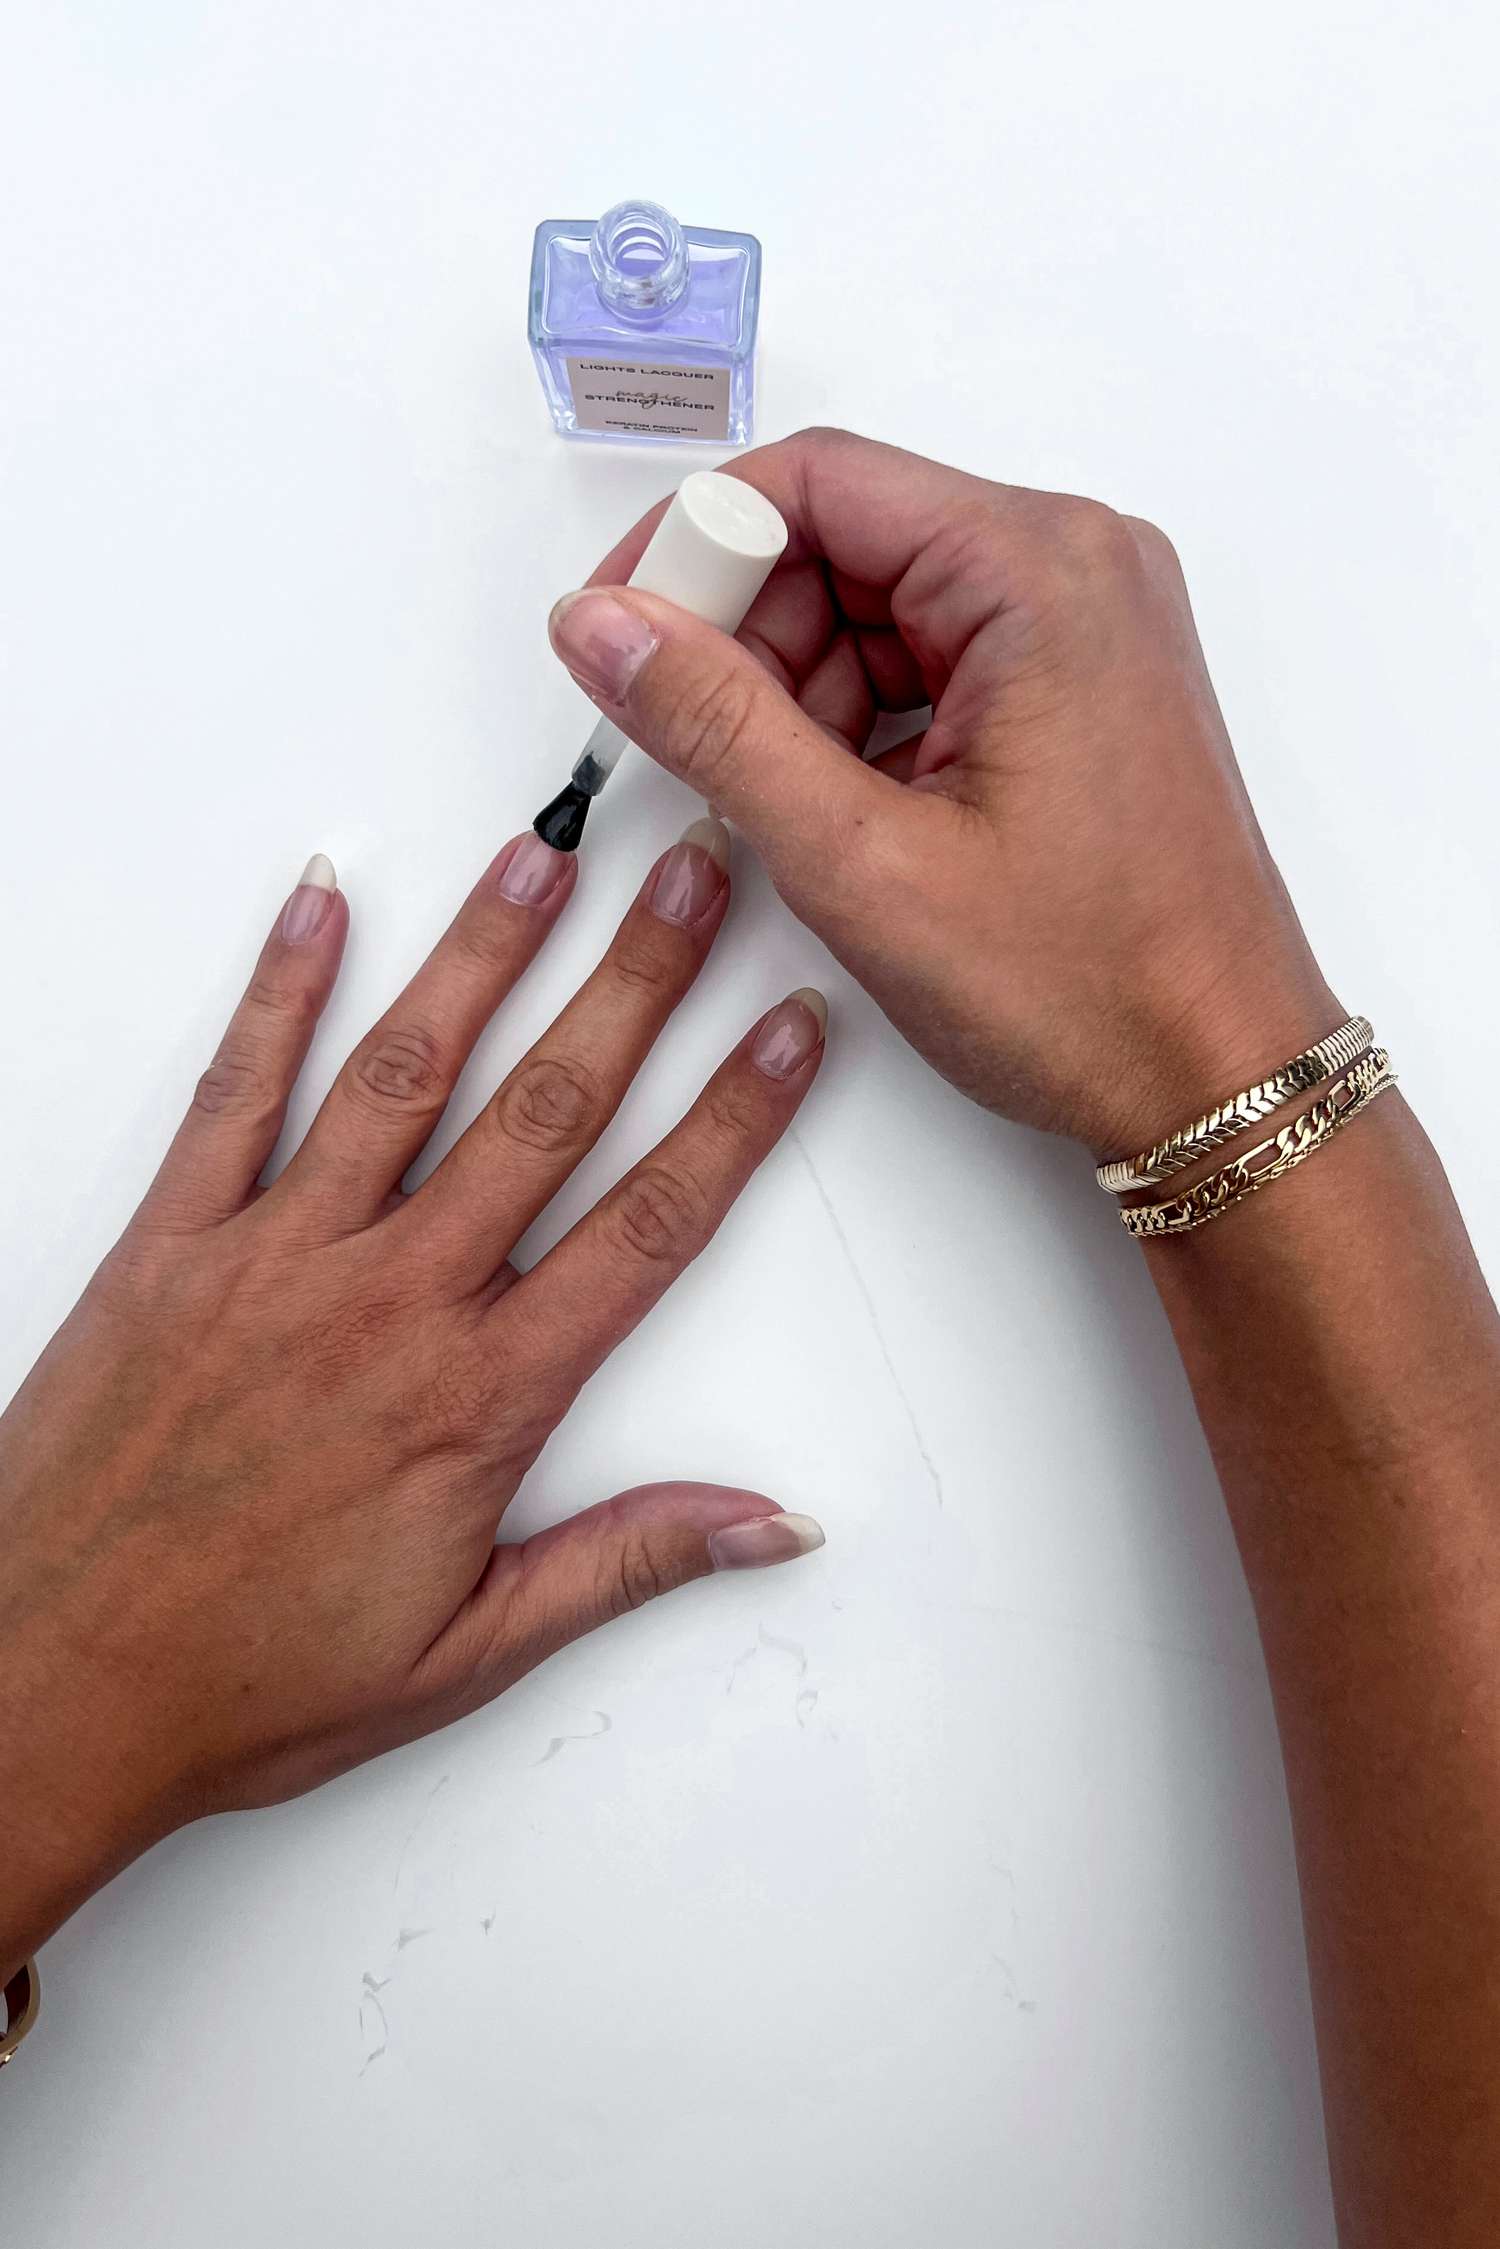
6. Strengthening Base Coats
While your nails heal, you might want a "shield" against the world. Look for strengthening base coats infused with calcium, peptides, and collagen extracts. These create a physical barrier against water (which paradoxically weakens nails by making them swell and shrink) and provide the physical structure the nail is currently lacking.
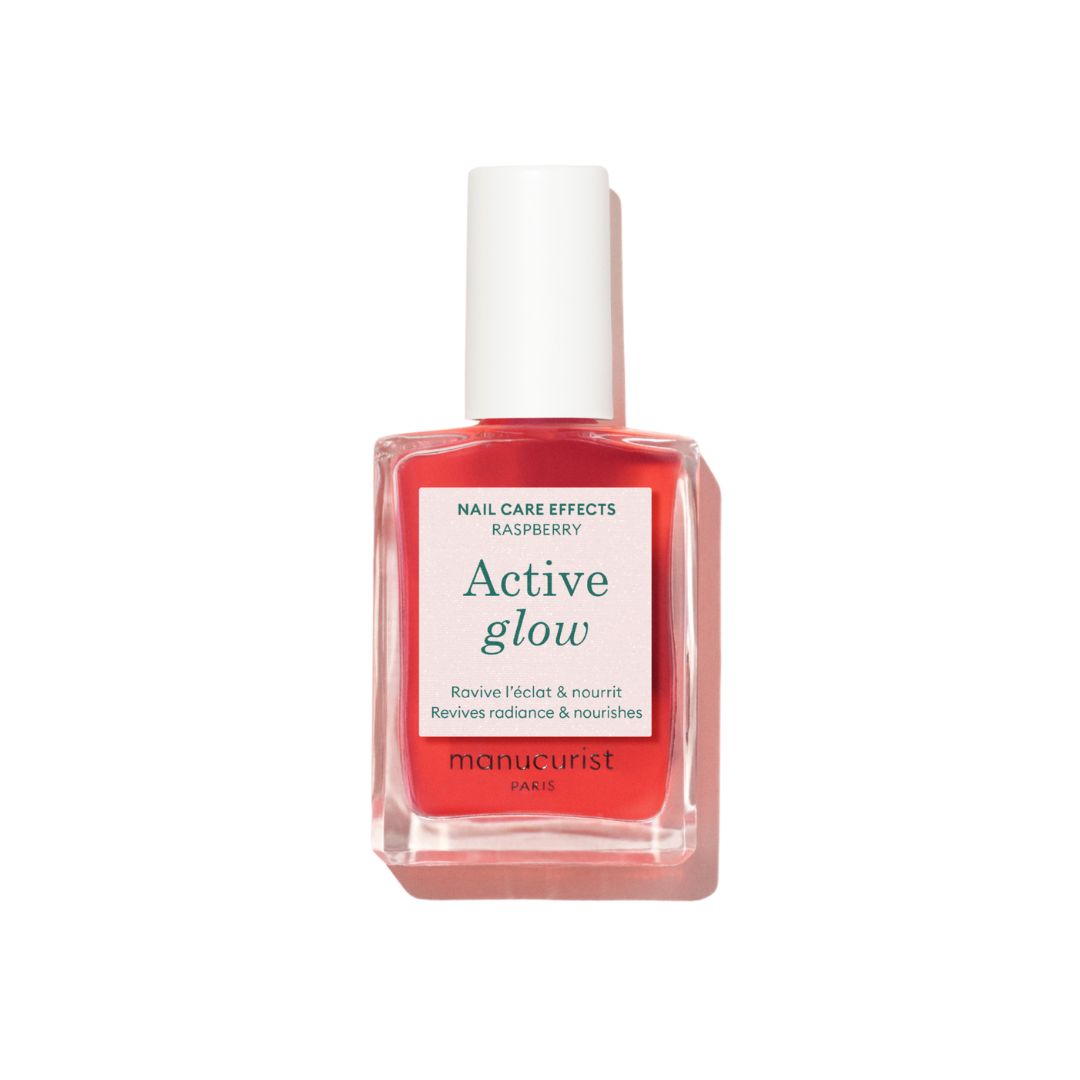
7. Tinted Treatments for Visual Correction
The "naked" look can be intimidating if your nails are yellowed or covered in white spots. Tinted treatments—often called "nail concealers"—provide a sheer wash of color (usually soft pink or lavender) to neutralize discoloration while delivering active healing ingredients. It’s the "BB cream" for nails.
Phase 3: Internal Health & Growth Acceleration
No amount of topical treatment can fully compensate for a lack of internal nutrients. Since the nail is formed deep within the finger, what you eat today will show up on your fingertips in about a month.
8. Biotin Supplementation
Biotin (Vitamin B7) is the most well-studied supplement for nail health. It improves the keratin infrastructure of the body.
Quick Takeaway: What is the recommended dose of Biotin? Most experts recommend a daily intake of 30mcg of biotin to support new growth. While you won't see an immediate change in the damaged tips, you will notice that the new nail growing from the base is thicker and less prone to splitting.
9. Collagen and Vitamin E Boosters
Consistent daily application of moisture-locking treatments and internal collagen boosters can reduce nail peeling and splitting. Vitamin E, whether taken as a supplement or applied topically, acts as a powerful antioxidant that protects the nail matrix from environmental free radicals—the invisible "stressors" that cause premature aging of our cells.
Phase 4: Preventative Lifestyle Habits
Healing is as much about what you don't do as what you do do. To maintain the protective cuticle barrier, you must adjust your daily habits.
10. The 'No Tools' Rule
Your nails are jewels, not tools. This is a common phrase in the manicurist world for a reason. Using your nails to scrape off stickers, open soda cans, or pry things open puts immense physical trauma on the nail bed. When your nails are already weakened by gel removal, these actions can cause the nail plate to detach from the nail bed (onycholysis).
11. Changing Your Removal Routine
If you decide to return to manicures, switch from pure acetone to hydrating removers. Pure acetone is a powerful solvent that dissolves the lipids (fats) in your nail plate. Look for "acetone-free" options or "soy-based" removers that contain essential oils to nourish the nail while the pigment is removed.
12. Protection Protocols
Water is actually one of the biggest enemies of damaged nails. When nails soak in water (during dishwashing or long showers), they expand. As they dry, they contract. This constant expansion and contraction causes the nail layers to separate, leading to peeling.
The Solution: Wear rubber gloves for all household tasks. It sounds simple, but it’s the most effective way to maintain the integrity of the cuticle seal and the nail's natural oils.
FAQ
Q: Can I wear regular nail polish while my nails are recovering? A: Yes, as long as it is a "breathable" formula or a treatment-based polish. Avoid "long-wear" polishes that require harsh removal. A standard polish can actually act as a protective layer against physical trauma, but make sure to use a non-acetone remover when taking it off.
Q: Why are there white spots on my nails after I peel off my gel? A: Those white spots are often "keratin granulations." They occur when the top layers of the nail cells are physically pulled off with the polish. They aren't a calcium deficiency; they are physical trauma. They cannot be "washed away" and must grow out.
Q: Is it okay to buff my nails to get rid of the ridges? A: Be very careful. Buffing involves thinning the nail plate to make it level. If your nails are already thin from damage, buffing will only make them weaker. Instead of buffing, use a "ridge-filling" base coat to create a smooth surface.
Summary: Your 90-Day Road to Recovery
Restoring your nails after a harsh manicure cycle is a marathon, not a sprint. By focusing on jojoba-rich oils, adopting the nail slugging technique, and supporting your body with 30mcg of biotin, you are giving your nails the biological tools they need to rebuild.
Remember: that 90-day regeneration cycle is a biological fact. Be patient with yourself. In three months, the thin, peeling nails you see today will be replaced by a strong, resilient foundation—provided you protect the barrier along the way.